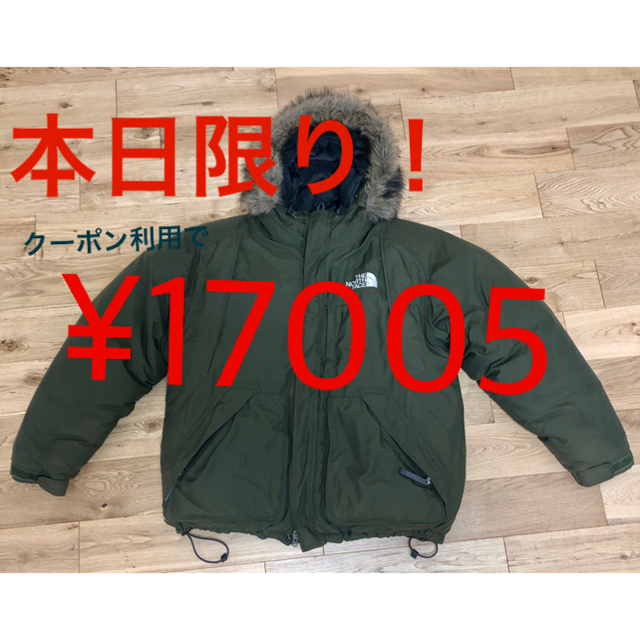
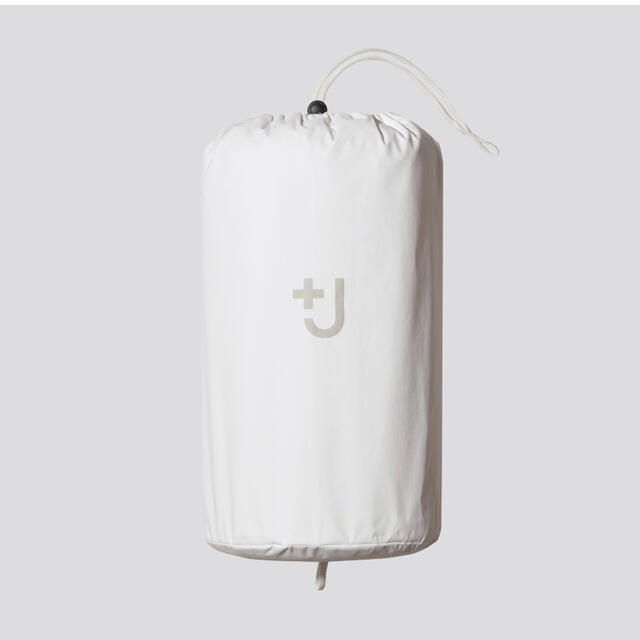
7,350円ライトダウンボリュームパーカー ユニクロ +J
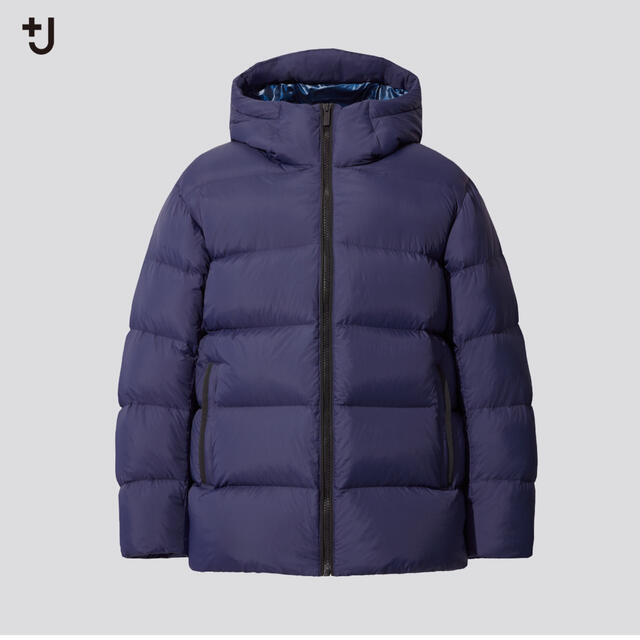
7,350円ライトダウンボリュームパーカー ユニクロ +J
ウェブ限定
レンタル価格:
7,350(税込)
サイズ展開一覧
こちらは本ページでご紹介商品の、サイズ展開リストとなります。
以下のリストからご確認下さいませ。
Snow Man LIVE TOUR 2021 Mania(初回版)
One choice 日向坂46 スペシャル抽選応募券 シリアルナンバー 20枚|SixTONES盤 素顔4+表紙 anan GLITTER アクスタ第2弾|素顔4 SixTONES盤 値下げ❗️|モスバーガー チラシ|BTS MEMORIES OF 2018 日本語字幕付き Blu-ray|即購入可、素顔4 関西ジャニーズJr|【特典付】乃木坂46 Blu-ray 齋藤飛鳥卒コン 完全生産限定盤アマゾン限定|乃木坂46 7th year birthday live 完全生産限定盤
以下の基準に基づき出品させていただいております。こちらに記載してあることと同じ内容をご質問いただいた場合、ご回答は差し控えさせていただきますのでご了承くださいませ。また、恐れ入りますが個々の状態や商品の詳細に関するご質問には対応いたしかねます。
■初回盤、通常盤について
帯はお付けしておりません。
組枚数:4枚
万が一、再生や動作に問題がある場合はご返品をお受けいたします。※交換はできません
JAN:4595121638035
■状態や再生について
発売会社:(株)MENT RECORDING
Snow Man
//付属品~特典DVD3枚、ワンピースBOX、フォトブックレット52P付
■ご購入前に必ずプロフィール欄をご確認ください。
JANコードが初回盤と通常盤で異なる商品はそれぞれ別々の商品として販売しています。
ただし、初回盤、通常盤ともにJANコードが同一の場合には同一商品として販売しており、ご購入時にお選びいただくことはできません。
商品お受け取りの際に万が一不足等ございましたら、ご返品をお受けいたします。※交換はできません
レンタル落ちやサンプル盤は取り扱っておりません。
DVD/ブルーレイ
中古商品ゆえ、再生に問題がないと思われる傷等はございますのでご了承ください。
「付属品」に付属品情報がない場合は、付いていないものとお考えくださいませ。 また、商品の帯は付属を保証しておりません。
■付属品について
■その他
エンタメ/ホビー
実際に再生や動作を試しておりませんが、盤面等の傷をチェックし、再生や動作に問題ないと判断した状態の商品を出品しております。
規格品番:JWBD63803
商品の情報
| サイズ | |
| ブランド | |
| 商品の状態 |
複数のご注文をまとめるご対応(追加注文の同梱)はできかねます。
発売年月日:2022/05/04
メディア形式:DVD
商品説明に「付属品」が記載されている場合はお付けしてお送りしております。
アイドル
Snow Man LIVE TOUR 2021 Mania(初回版) 商品画像

Snow Man LIVE TOUR 2021 Mania(初回版)
7,350円ライトダウンボリュームパーカー ユニクロ +J の情報
7,350円ライトダウンボリュームパーカー ユニクロ +J
ユニクロ +J ライトダウンボリュームパーカー
カラー ブルー
サイズ L
オンライン購入
#UNIQLO
#ジルサンダー
#ダウンジャケット
アイドル
7,350円ライトダウンボリュームパーカー ユニクロ +J 商品画像
7,350円ライトダウンボリュームパーカー ユニクロ +J